How to dry chives for your spice rack
How to Dry Chives for Your Spice Rack In the world of culinary delights, the right herbs and spices can elevate your dishes from ordinary to extraordinary. Chives, with their delicate onion flavor and vibrant green color, are a staple in many kitchens. But what if you find yourself with an abundance of fresh chives […]
How to Dry Chives for Your Spice Rack
In the world of culinary delights, the right herbs and spices can elevate your dishes from ordinary to extraordinary. Chives, with their delicate onion flavor and vibrant green color, are a staple in many kitchens. But what if you find yourself with an abundance of fresh chives and want to preserve their essence for future use? The answer lies in drying your chives. In this comprehensive guide, we’ll walk you through the steps to expertly dry chives for your spice rack, ensuring they maintain their flavor, color, and aroma.
Why Dry Chives?
Drying chives is a fantastic way to extend their shelf life and have these delectable herbs readily available at your fingertips. Whether you’ve harvested an abundant chive crop from your garden or purchased a surplus at the store, drying is a smart choice. The dried form of chives can be stored for an extended period, ensuring you have access to this versatile herb year-round. You’ll also find that the drying process intensifies the flavor of chives, making them a potent addition to your culinary creations.
Step-by-Step Guide to Drying Chives
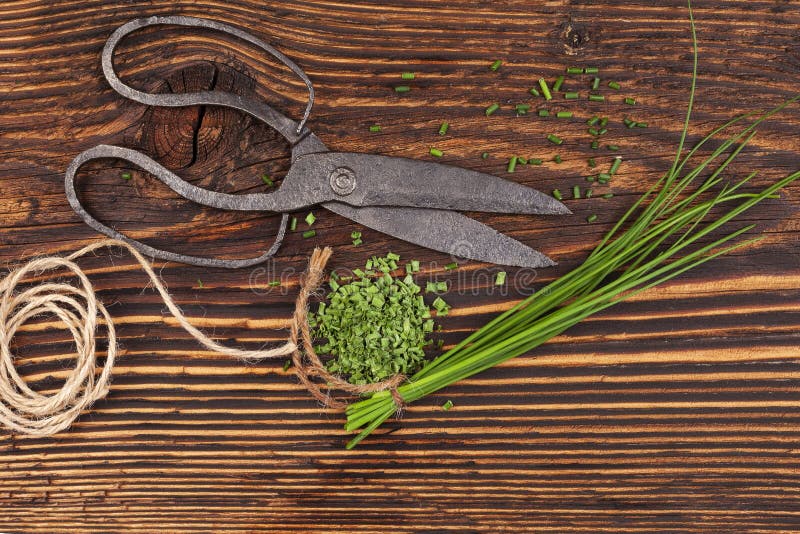
1. Harvesting Chives
Before you embark on the journey of drying chives, you’ll need to gather your fresh chives. The best time to do this is when the chives are at their peak, typically during the late spring or early summer. Chives are best harvested in the morning when their flavor is the most robust. Use a pair of scissors or garden shears to snip the chives, leaving about an inch above the ground to allow for regrowth.
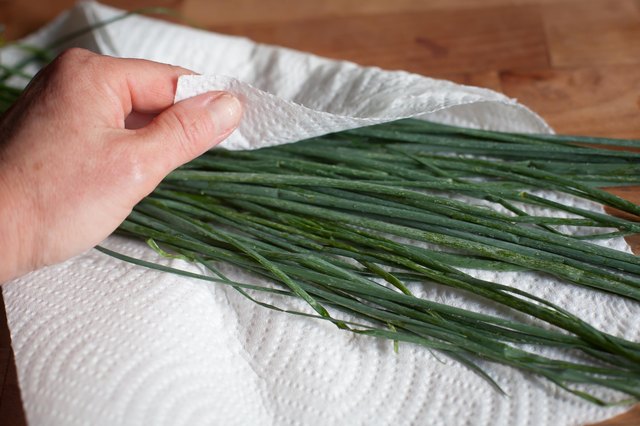
2. Washing and Drying
Once you’ve collected your chives, it’s important to give them a thorough wash. Gently rinse them under cold running water to remove any dirt or debris. After washing, pat them dry with a clean kitchen towel or paper towels. It’s essential to ensure they are completely dry to prevent mold or spoilage during the drying process.
3. Choosing Your Drying Method
There are a few different methods for drying chives, each with its own set of advantages. You can choose between air drying, using an oven, or a food dehydrator:
– Air Drying
- Pros: It’s a simple and low-cost method.
- Cons: Takes more time compared to other methods.
To air dry chives, gather them into small bunches, tie them with twine, and hang them in a dry, well-ventilated area. Ensure they are not exposed to direct sunlight, which can cause the loss of color and flavor.
– Oven Drying
- Pros: Faster compared to air drying, and results in well-preserved color and flavor.
- Cons: Requires the use of an oven.
To oven dry chives, place them on a baking sheet in a single layer and bake at the lowest possible temperature (usually around 150°F or 65°C) for 2-3 hours, or until they become crisp.
– Food Dehydrator
- Pros: The quickest and most efficient method for drying chives, maintaining their color and flavor.
- Cons: Requires a food dehydrator.
If you have a food dehydrator, simply arrange the chives on the dehydrator trays and follow the manufacturer’s instructions for drying herbs.
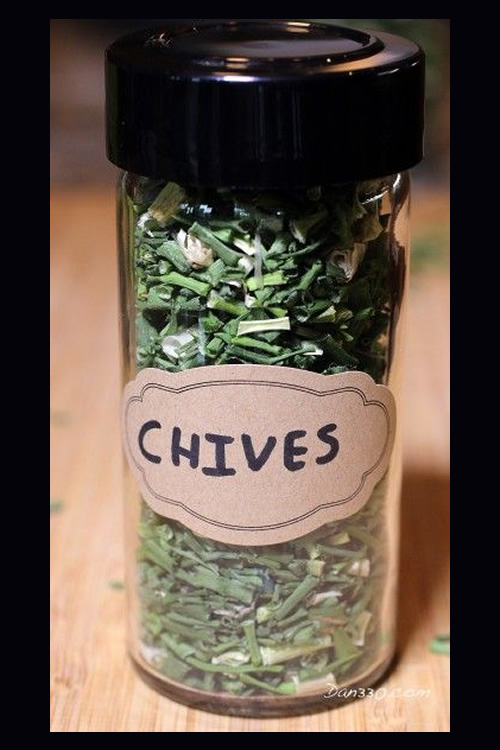
4. Storing Dried Chives
Once your chives are thoroughly dried, it’s time to store them. You can store them in airtight containers like glass jars or vacuum-sealed bags. Keep them in a cool, dark place away from direct sunlight. Properly stored, dried chives can retain their flavor and aroma for up to a year.
5. Using Dried Chives
Dried chives are a versatile ingredient that can be used in a variety of dishes. To use them, simply crush or crumble the dried chives into your recipes. They work well in soups, stews, dips, salads, and as a garnish for baked potatoes or omelets. Remember to adjust the quantity to your taste, as the drying process intensifies their flavor.
FAQs

Q1: Can I use a microwave for drying chives?
A1: While it’s possible to use a microwave for drying chives, it’s not the preferred method. Microwaving can cause uneven drying and result in a loss of flavor and color. It’s best to stick to air drying, oven drying, or a food dehydrator for the best results.
Q2: How long do dried chives retain their flavor?
A2: Properly dried and stored chives can retain their flavor for up to a year. However, for the best flavor, it’s recommended to use them within six months.
Q3: Can I dry chive flowers as well?
A3: Absolutely! Chive flowers are edible and can be dried along with the chives. They have a milder flavor and can be a delightful addition to your dried herb collection.
In Conclusion
Drying chives is a practical and rewarding way to preserve these delightful herbs for your spice rack. With our step-by-step guide, you can ensure that your dried chives maintain their vibrant color and intense flavor, elevating your culinary creations to new heights. Say goodbye to the limitations of fresh chives and welcome the convenience of having them at your fingertips year-round. Now, go forth and create delicious dishes with the help of your homemade dried chives.
tag
- chicken feed
- how to Keep Chickens Off Your Porch
- How to grow oyster mushrooms at home
- Growing Kale in Pots